
Fumot Product News
How to Open RandM Tornado 15000: An Engineering Teardown Guide
The Fumot RandM Tornado 15000 is a marvel of disposable vape engineering, housing a massive 25ml reservoir and a high-precision LED interface within a compact, ergonomic chassis. While the device is designed as a closed system for safety and consistency, understanding its internal assembly is vital for professionals and advanced users troubleshooting performance.
As the engineering team at OKK Vape, we’ve documented the precise steps to access the internals of the Tornado 15000 without compromising the integrated circuitry.
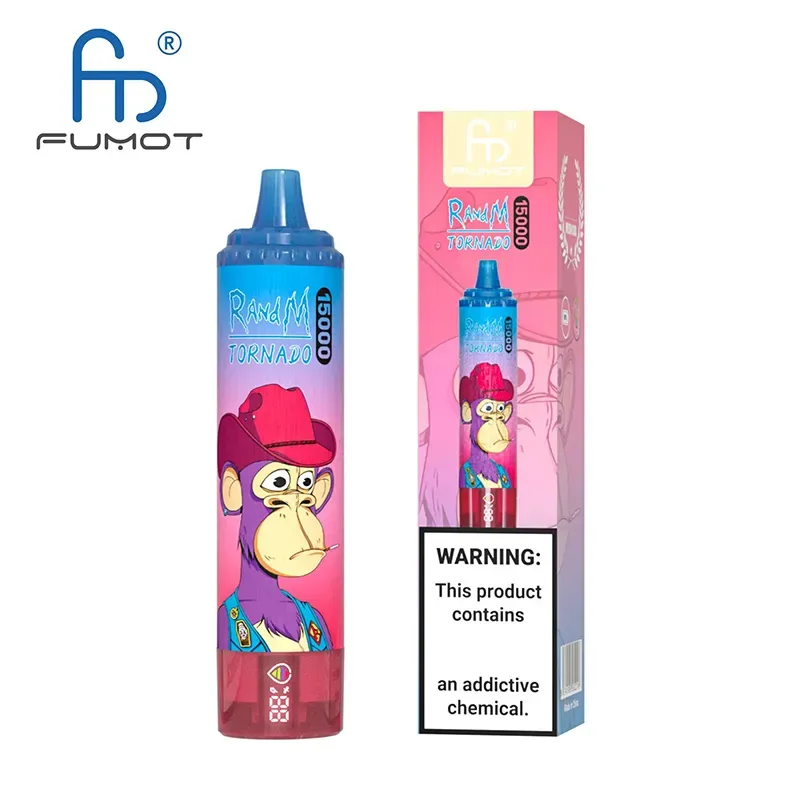
1. Structural Overview and Entry Points
Unlike earlier, smaller models in the Tornado series, the 15,000-puff variant utilizes a friction-locked base assembly. There are no screws; the structural integrity relies on internal plastic clips situated at the junction where the translucent base meets the opaque outer shell.
Engineering Note: The baseplate is the primary entry point. It houses the Type-C charging port, the airflow toggle, and the primary air-pressure sensor.
2. Step-by-Step Disassembly Process
Phase A: The Base Separation
To open the RandM Tornado 15000, you require a thin, non-conductive prying tool.
- Insertion: Locate the seam at the bottom of the device. Gently insert your tool between the base cap and the main body sleeve.
- The Leverage Technique: Apply steady, outward pressure. You will hear a series of small “clicks” as the internal tabs disengage.
- Critical Warning: Once the base begins to slide out, stop. The 850mAh battery is soldered via 28AWG wires directly to the charging port on the base. A sharp pull will snap these connections, killing the device instantly.
Phase B: Extracting the Internal Chassis
With the base loosened, the internal “sled”—which holds the battery, the 25ml juice tank, and the mesh coil—can be pushed downward through the bottom of the shell.
- The Ribbon Cable: Observe the front of the sled. A delicate ribbon cable connects the main logic board to the LED battery/juice display. Ensure this cable remains slack during extraction.
- Component Layout: You will now see the high-density cobalt battery secured to the side of the 25ml reservoir. The 0.9Ω mesh coil is embedded at the top of this tank.
Phase C: Accessing the Mesh Coil & Gaskets
If the goal is to inspect the wicking system, you must remove the top silicone seal. This seal is dual-purpose: it maintains the vacuum necessary for draw-activation and prevents the 25ml of e-liquid from leaking into the battery compartment.
3. Engineering Fixes for Common Issues
Before fully dismantling your Tornado 15000, consider these engineering-led solutions that often resolve “malfunctions” without opening the shell:
- Airflow Blockage: If the device isn’t hitting, it is rarely a sensor failure. It is usually a vacuum lock in the 25ml tank. Try covering the bottom airflow and taking a sharp, dry pull to reset the internal pressure.
- LED Display Glitches: If the juice or battery indicator is frozen, it often indicates a static buildup on the logic board. Charging the device for exactly 5 minutes can “power-cycle” the PCB and reset the display calibration.
- Premature Burnt Taste: Since the 0.9Ω mesh coil is highly efficient, it requires a fully saturated wick. If you experience a dry hit, the “teardown” solution is to ensure you fully cleared the internal silicone plug upon unboxing, allowing the juice to flow into the coil housing.
4. Technical Specifications for the Advanced User
The RandM Tornado 15000 operates on a 3.7V constant output, managed by a proprietary chipset designed to maximize the lifespan of the 850mAh battery. Designers optimize the 0.9Ω mesh coil for a balance of flavor and vapor density, ensuring that it aerosolizes the 25ml of nicotine salts efficiently without overheating the internal components.